 Principle 6: Produce no waste
In an effort to get more engaged with my local community I began writing a regular article for the Telegraph, our local newspaper. My plan is to write an article every couple of weeks about projects that I’m involved in or inspired by – I’ve decided to call the column: Do It Yourselfer
On this blog post I thought that I’d reproduce the first article that I wrote with some more detail and links to expand on what I’ve been up to. If you’ve got any thoughts about this idea or the projects, please leave a comment – and feel free to share these posts if you find them of interest.
Cheers, Richard Telford
Do It Yourselfer #1
I like to get my hands dirty and have a go a just about anything. It’s something that runs through my veins. When asked “what’s your profession?” in those probing forms that you have to fill out, I started answering “Do it Yourselfer”. Seems to be the best fit for a generalist like me.
So, what’s this article about? I had this idea for writing a regular piece about things to do around the home that could inspire people to have a go themselves. There’s somethings that work, and there’s others that don’t. There’s lots of ideas and knowledge ‘out there’, so I thought it would be good to share some of what I’ve learned and been inspired by.
Raising beds
When I deconstructed the dilapidated house on the site that was later to become Abdallah House I was confronted with one material that I was really challenged to find a productive use for. Old concrete roof tiles.
There’s a lot of these in the area. As I understand it, once the protective coating wears away, they start to soak up moisture when it rains that can double the weight of a roof. This can cause the roof to sag, crack and leak.
So, what to do with 750 tiles? I ended up using most of them to build raised garden beds – there’s nothing new about that, or is there?
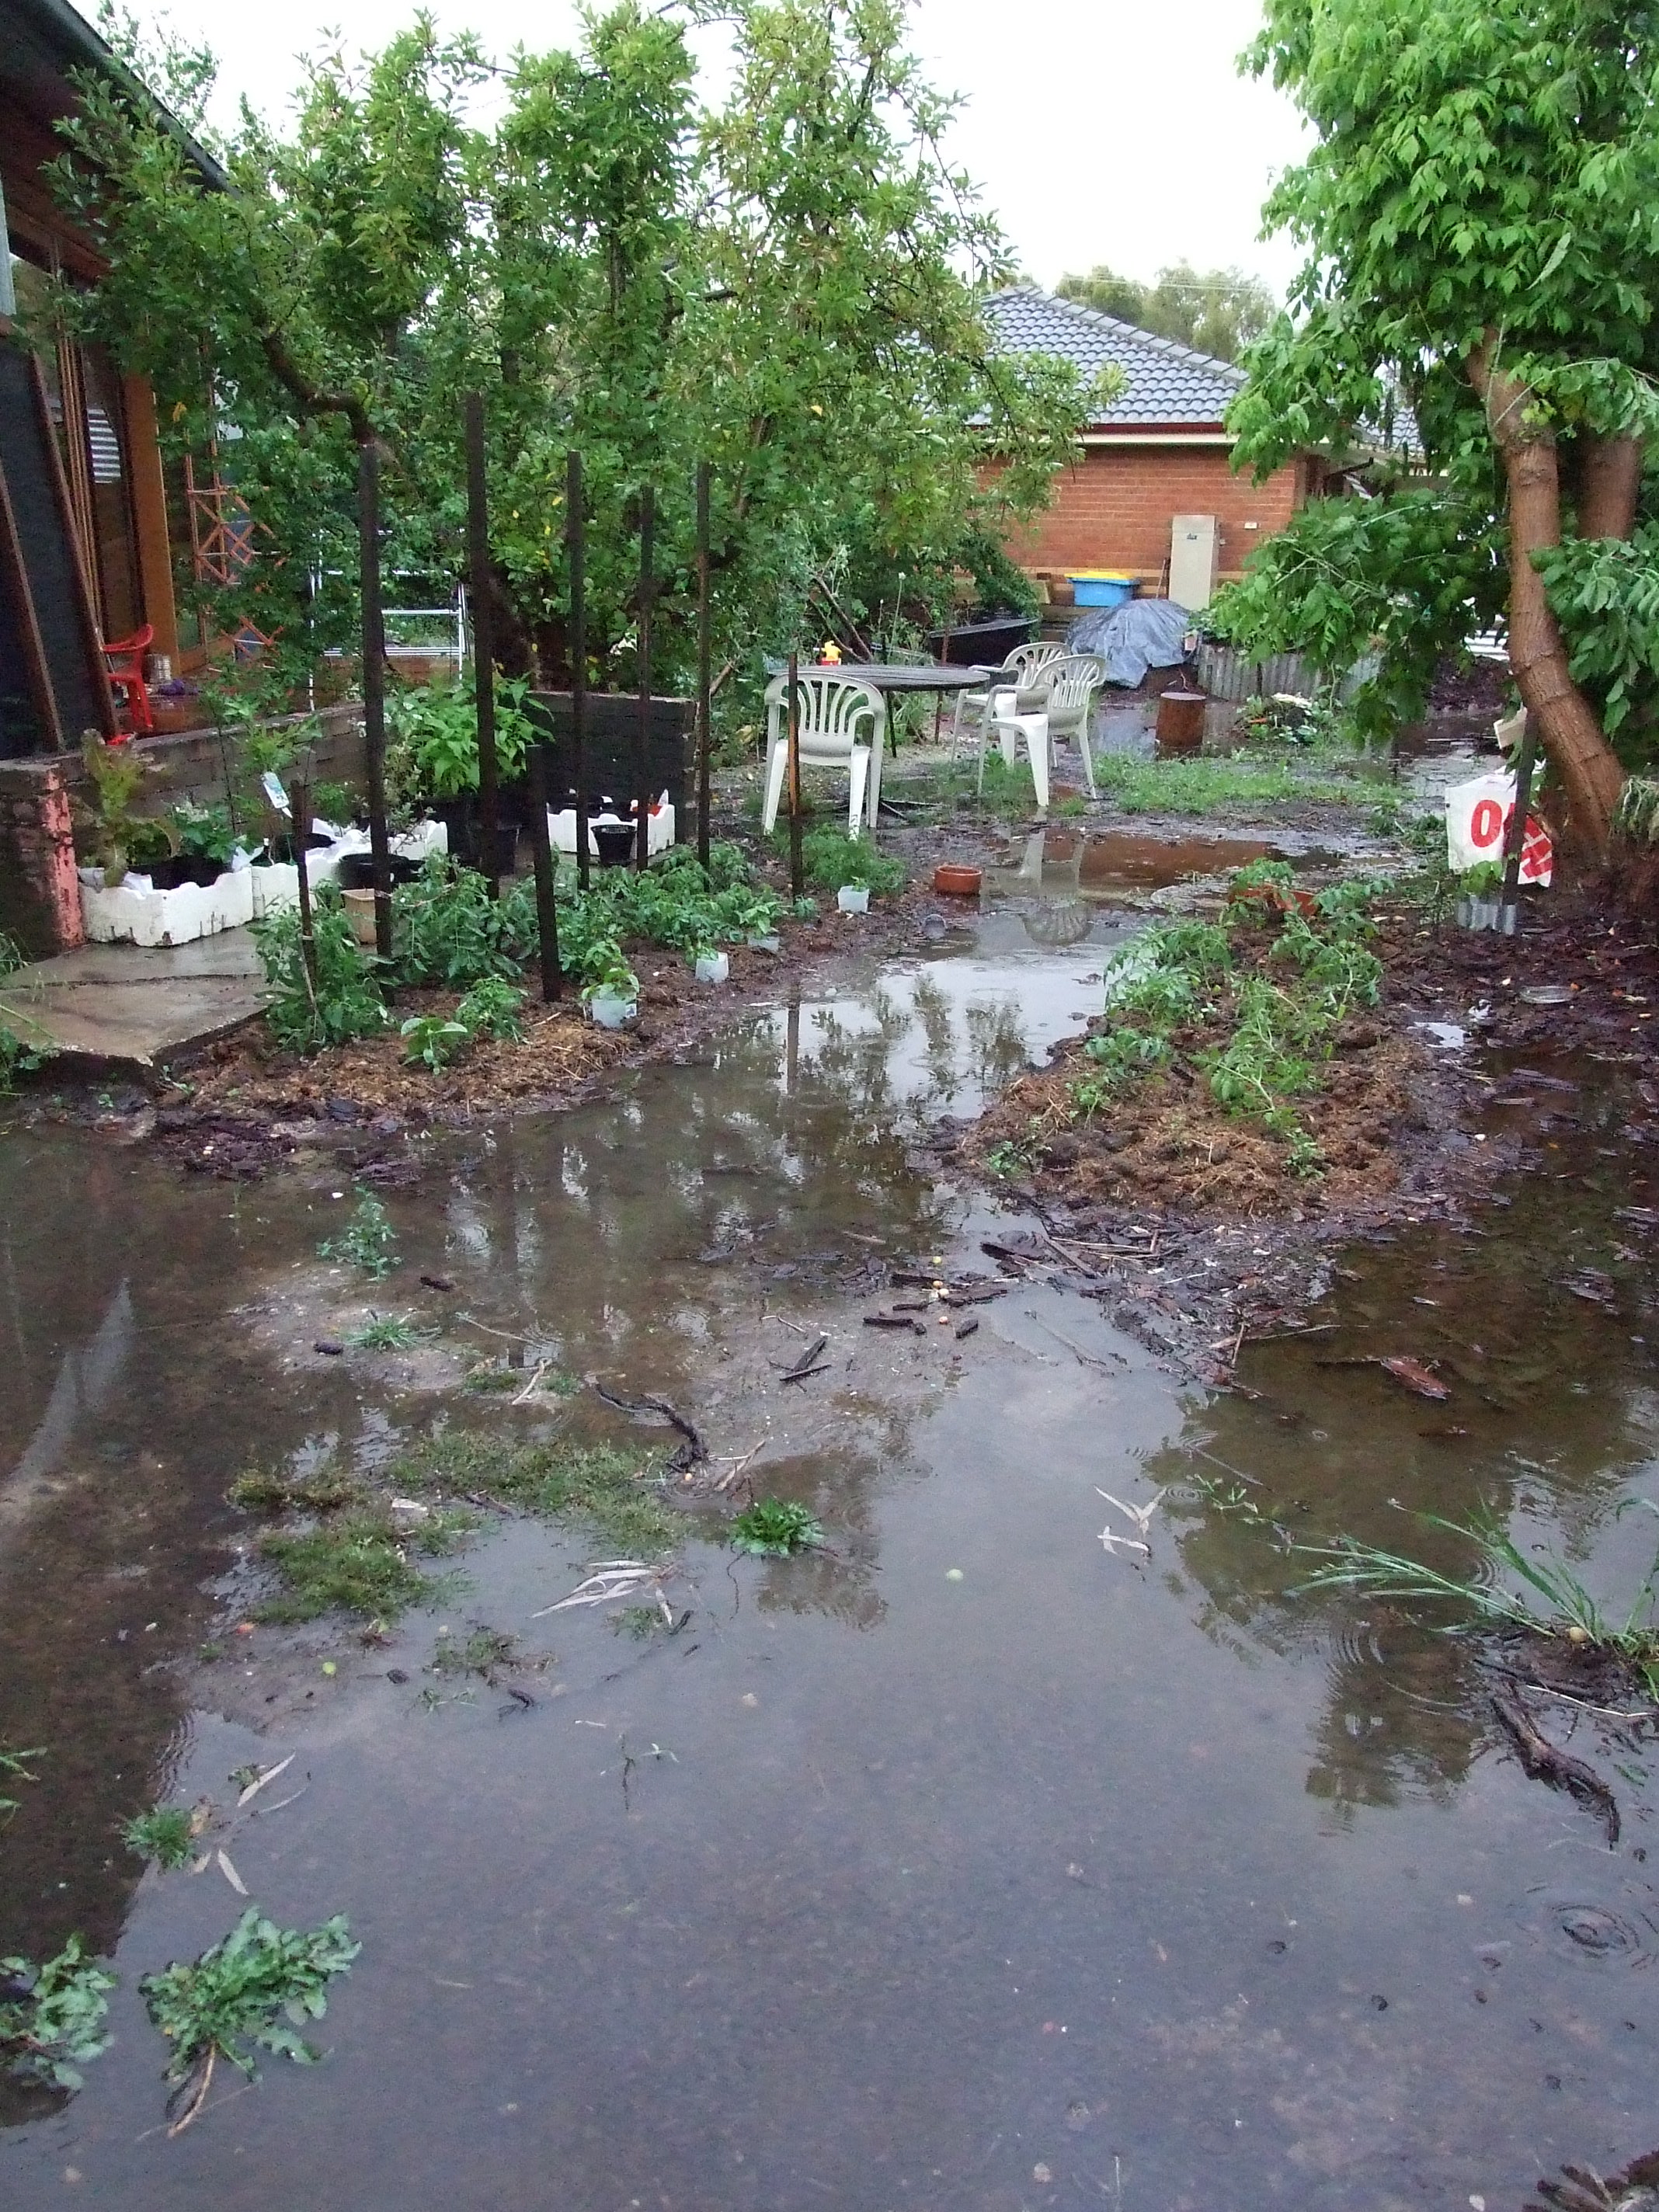
Initially I thought that garden beds should be low rather than high, so that the water doesn’t drain out of the soil. But, when heavy rains come, the beds can flood and the plants die (I learned that one).
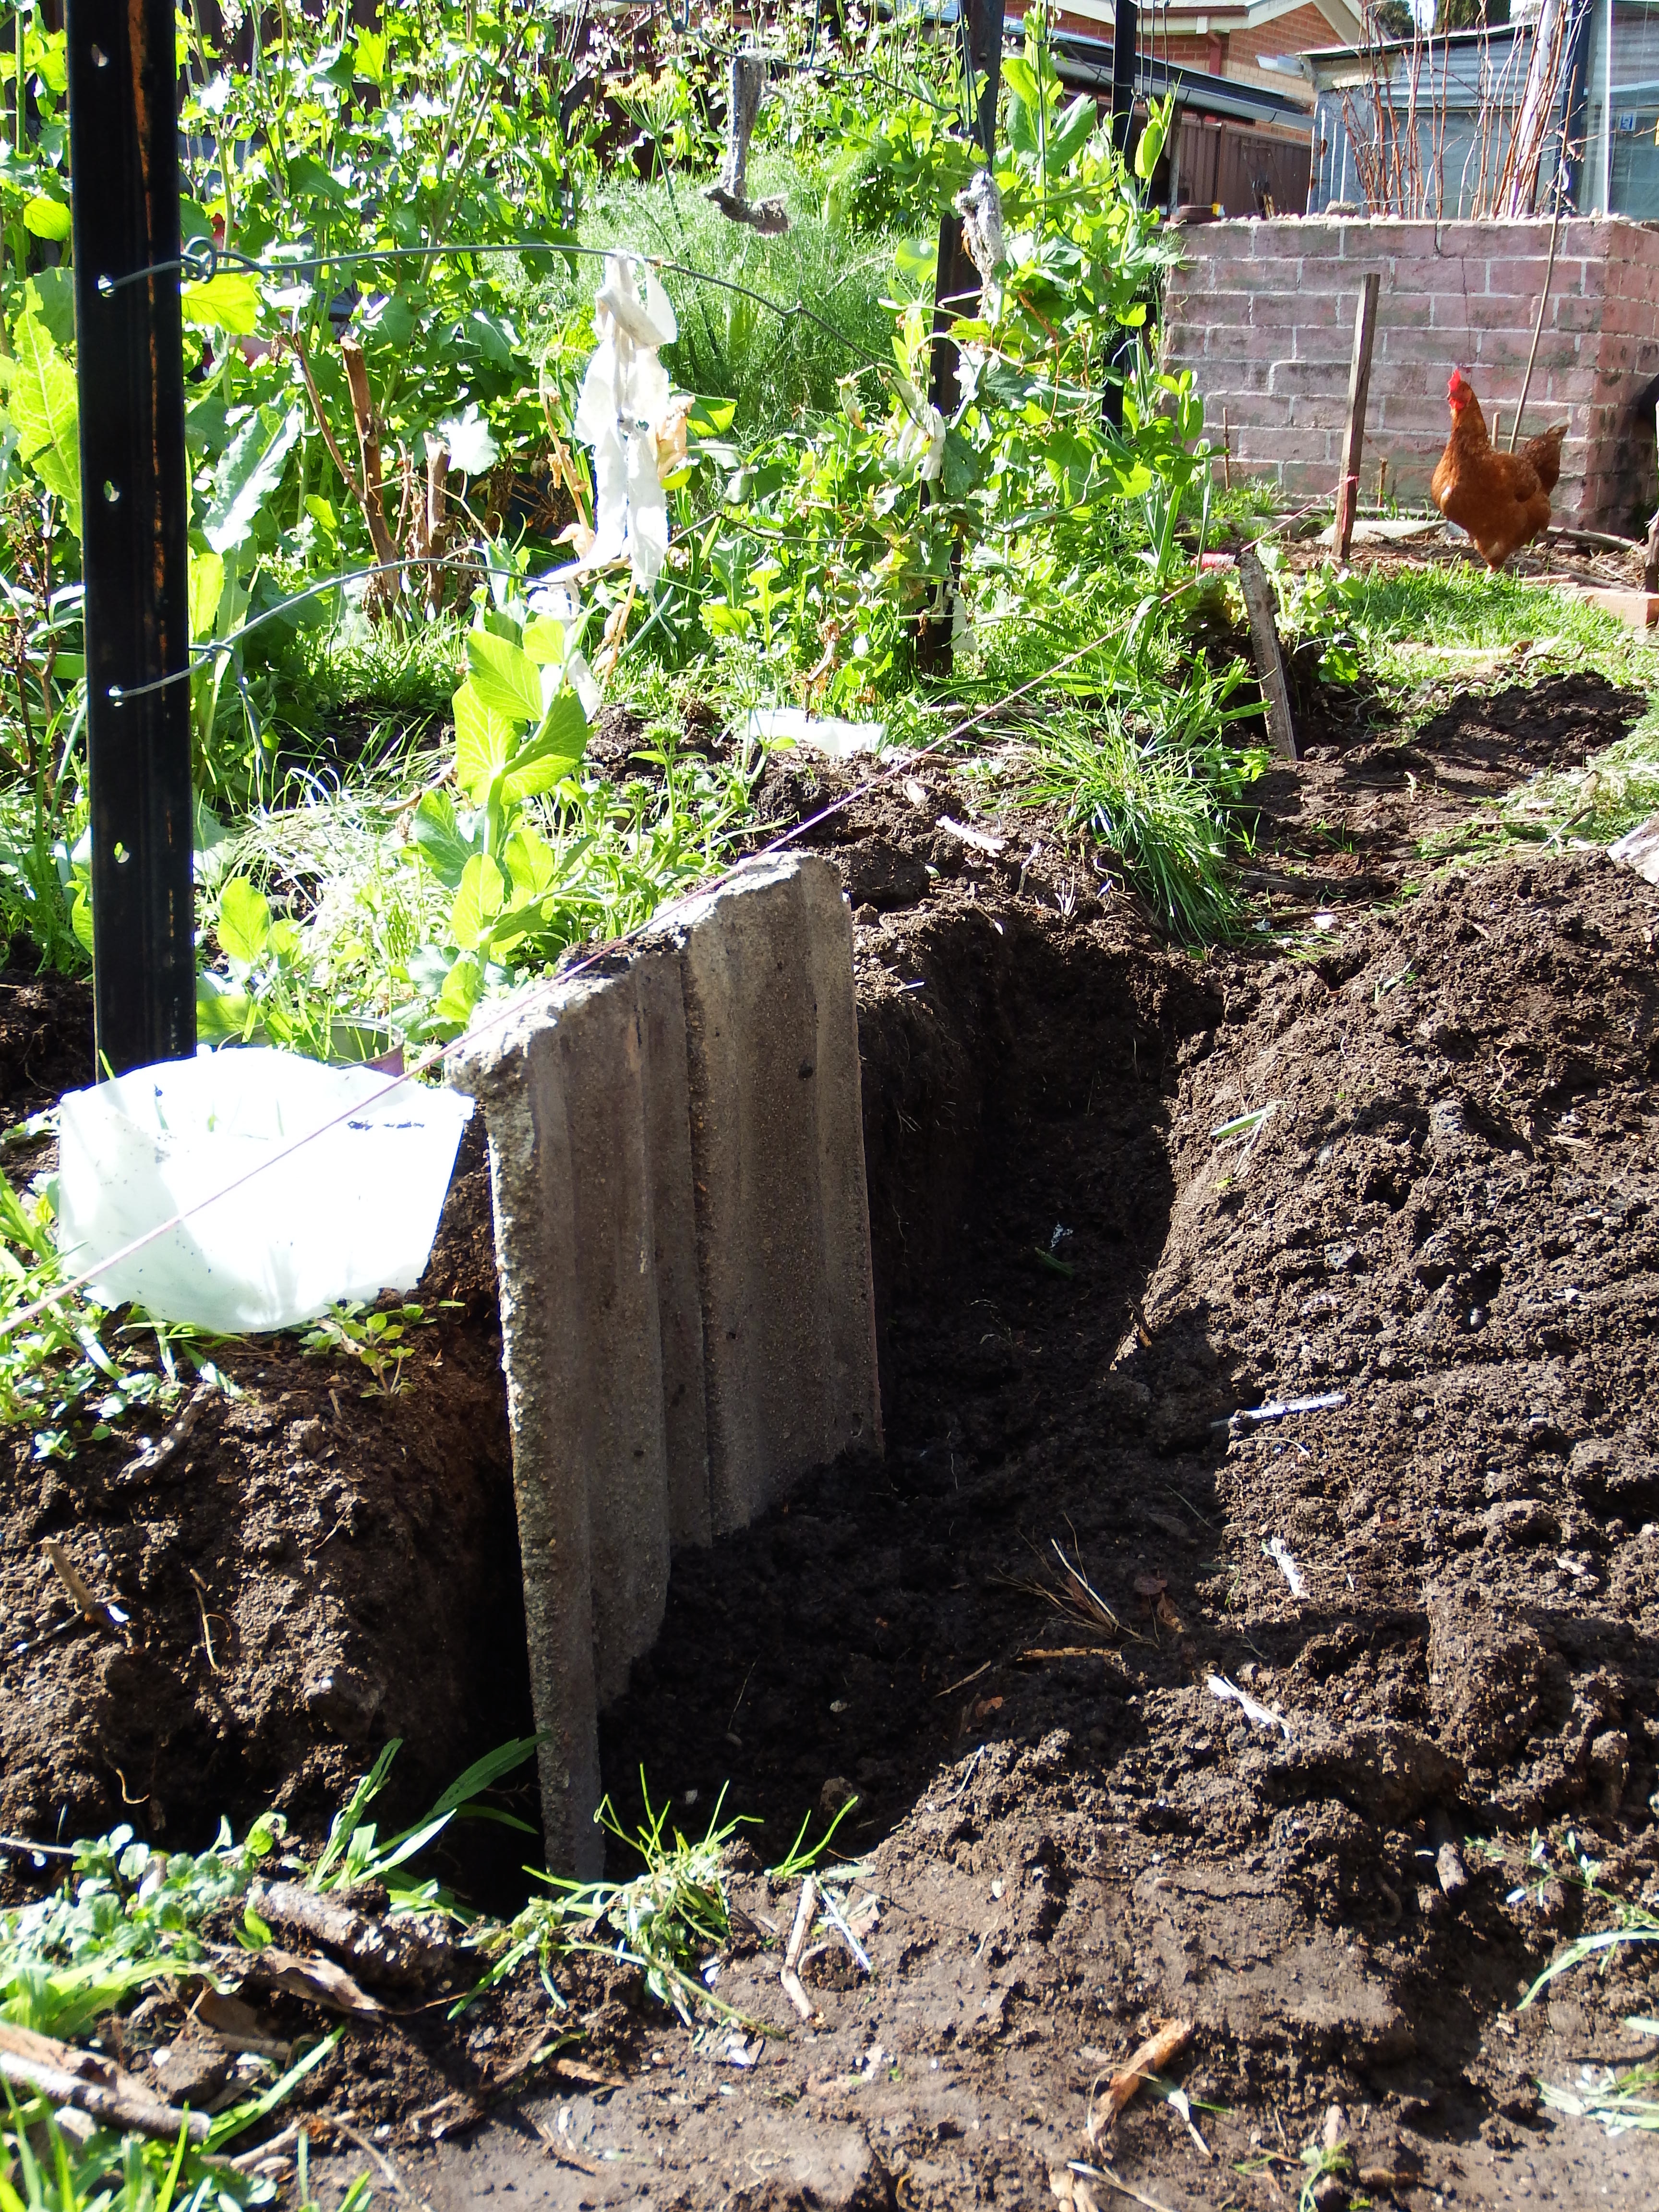
I dug the tiles in to about half their length and held them in place with soil. String lines were used to ensure that the beds were straight and level. The capping tiles came in handy for corners.
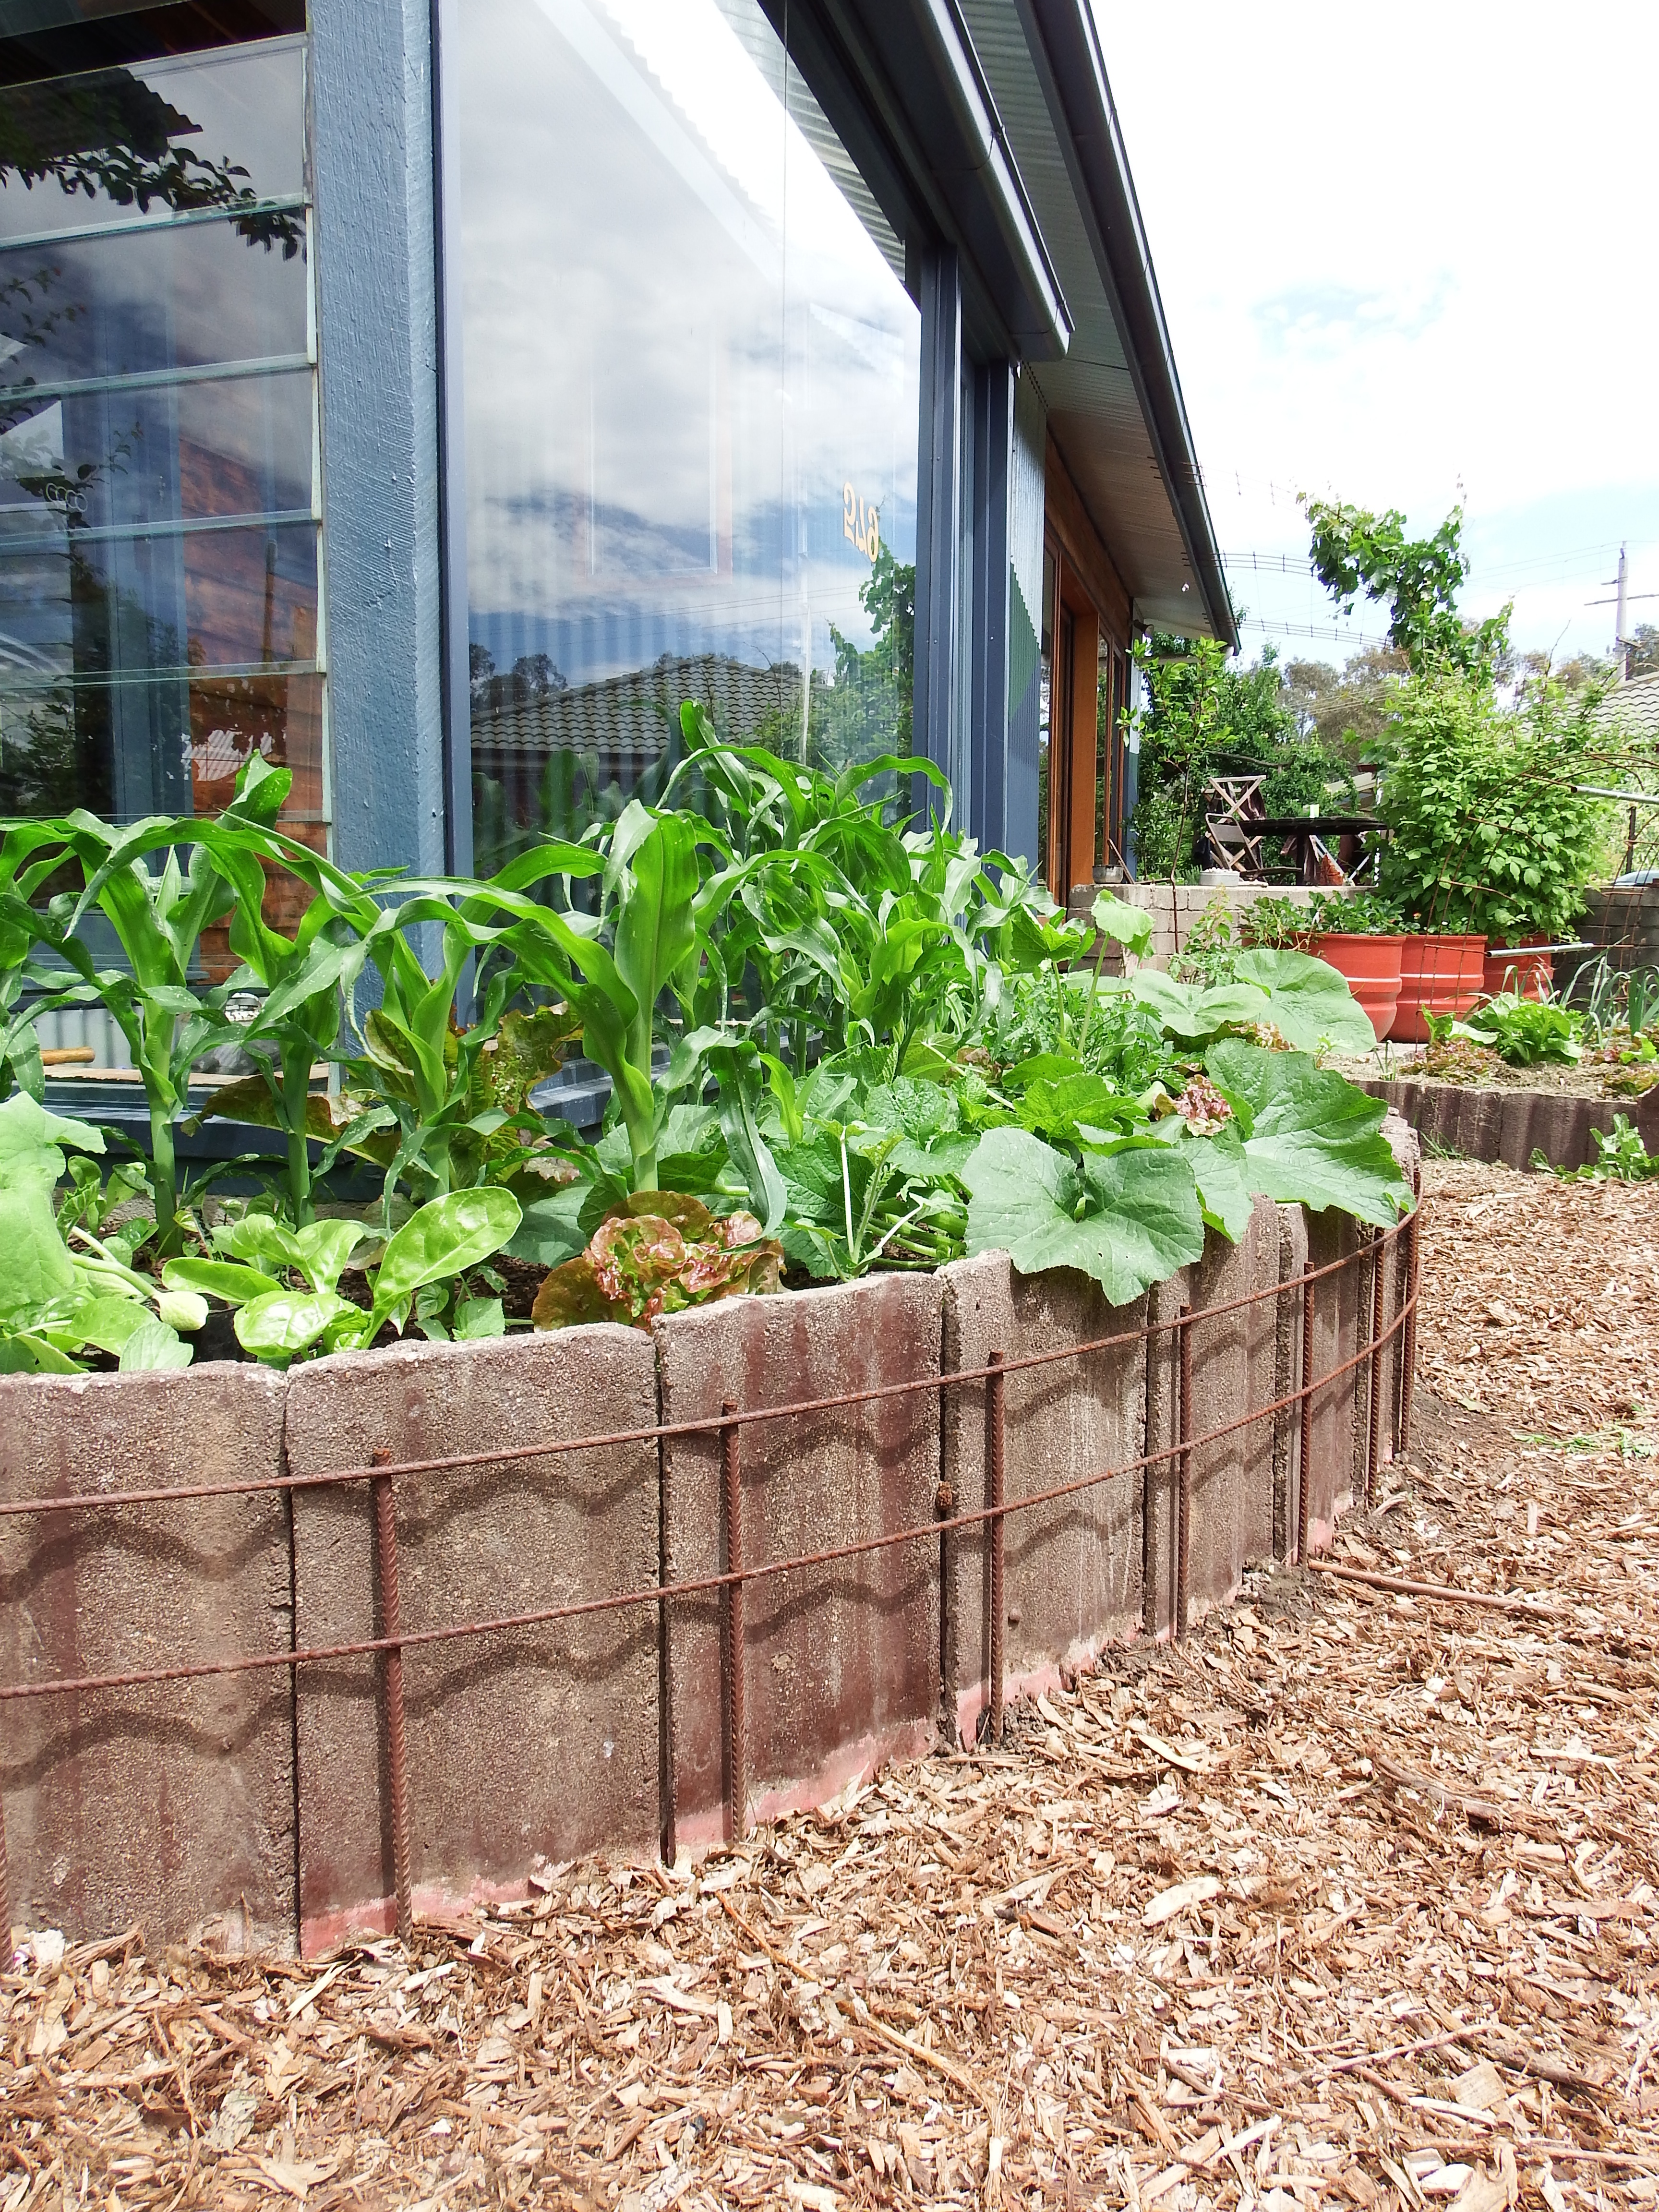
Footpaths around the beds have been dug in lower, providing the soil to raise the beds and acting as basins to capture and store rainwater.
A thick layer of mulch was added onto the paths, which help to maintain moisture, reduce weeds and provides a good walking surface. The mulch eventually breaks down into a rich compost that can be dug back into the beds, building them up further over time.
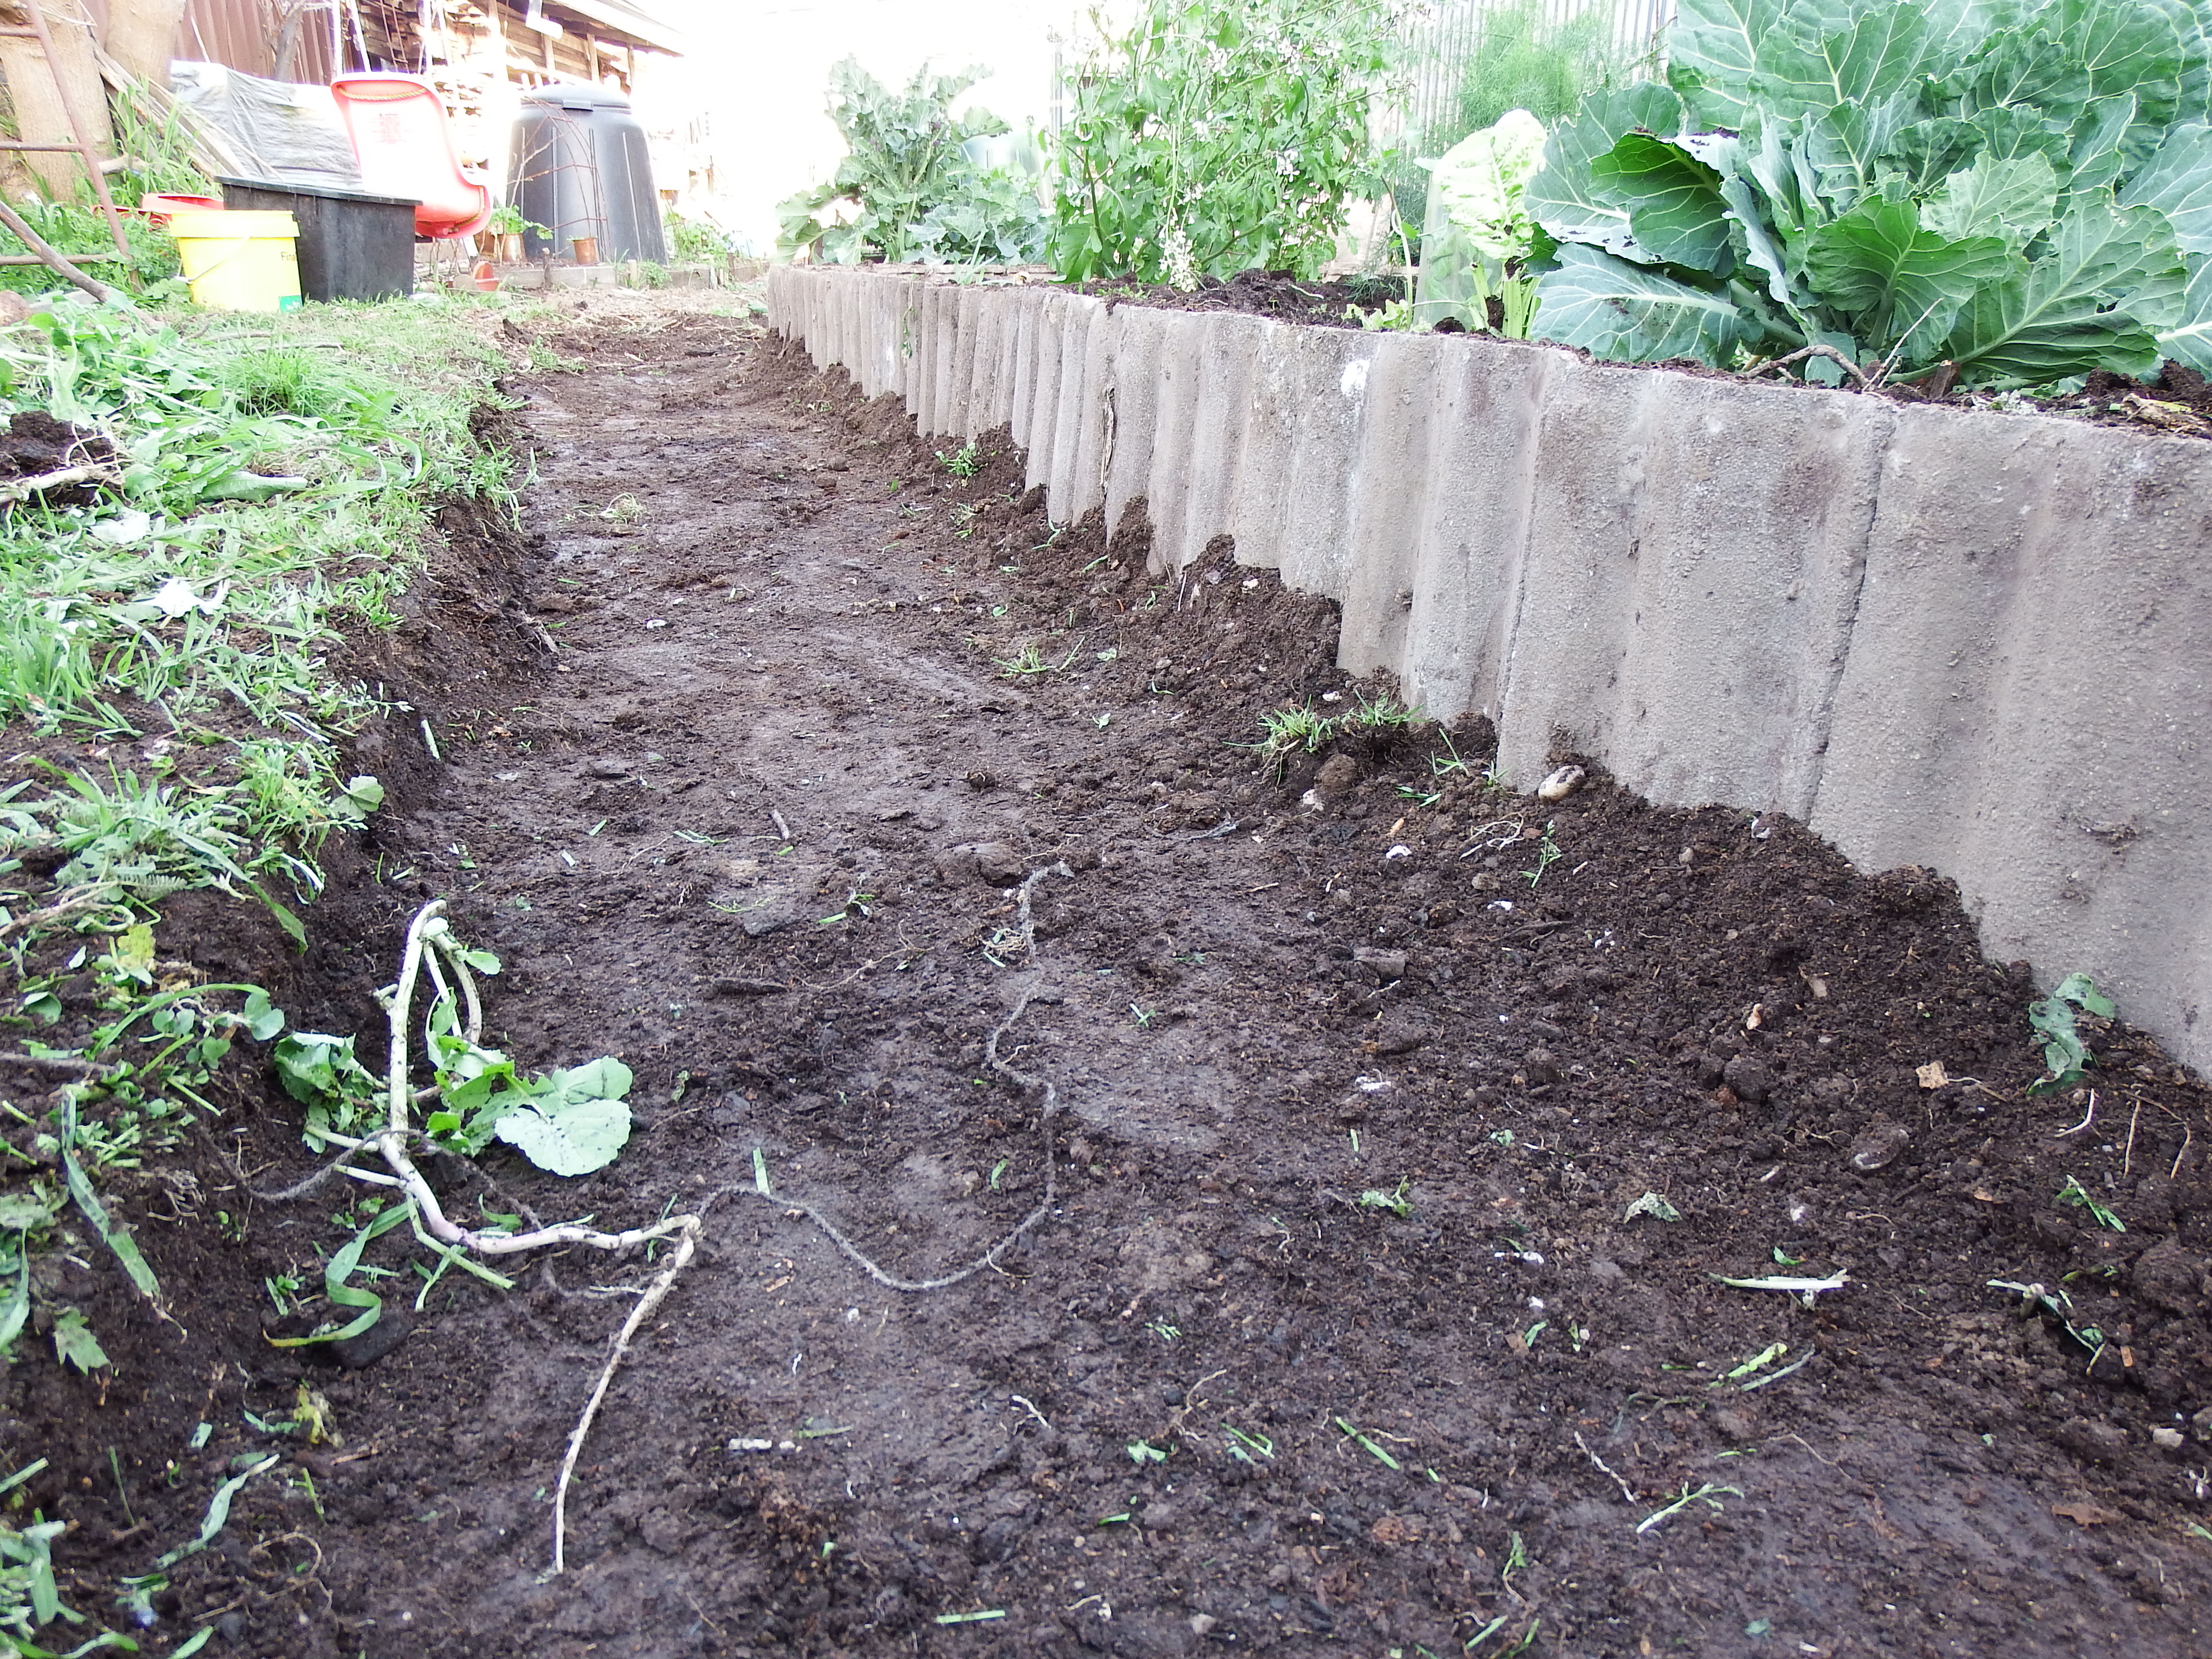
Soil from the path around the tiled area dug in to raise the bed. The recessed area will act as an infiltration basin for storing rainwater
What I found was the moisture from the soil wicks up into the garden, and the raised bed encourages the plants to send their roots down to access water as required. The beds do dry out in the summer, which they would anyway, but you can take advantage of those freak rain events by capturing the water that usually drains off the hard dry surface.
The path around garden bed at the front of our house has been designed to catch and store water, which seeps into the soil to be later accessed by the plants.

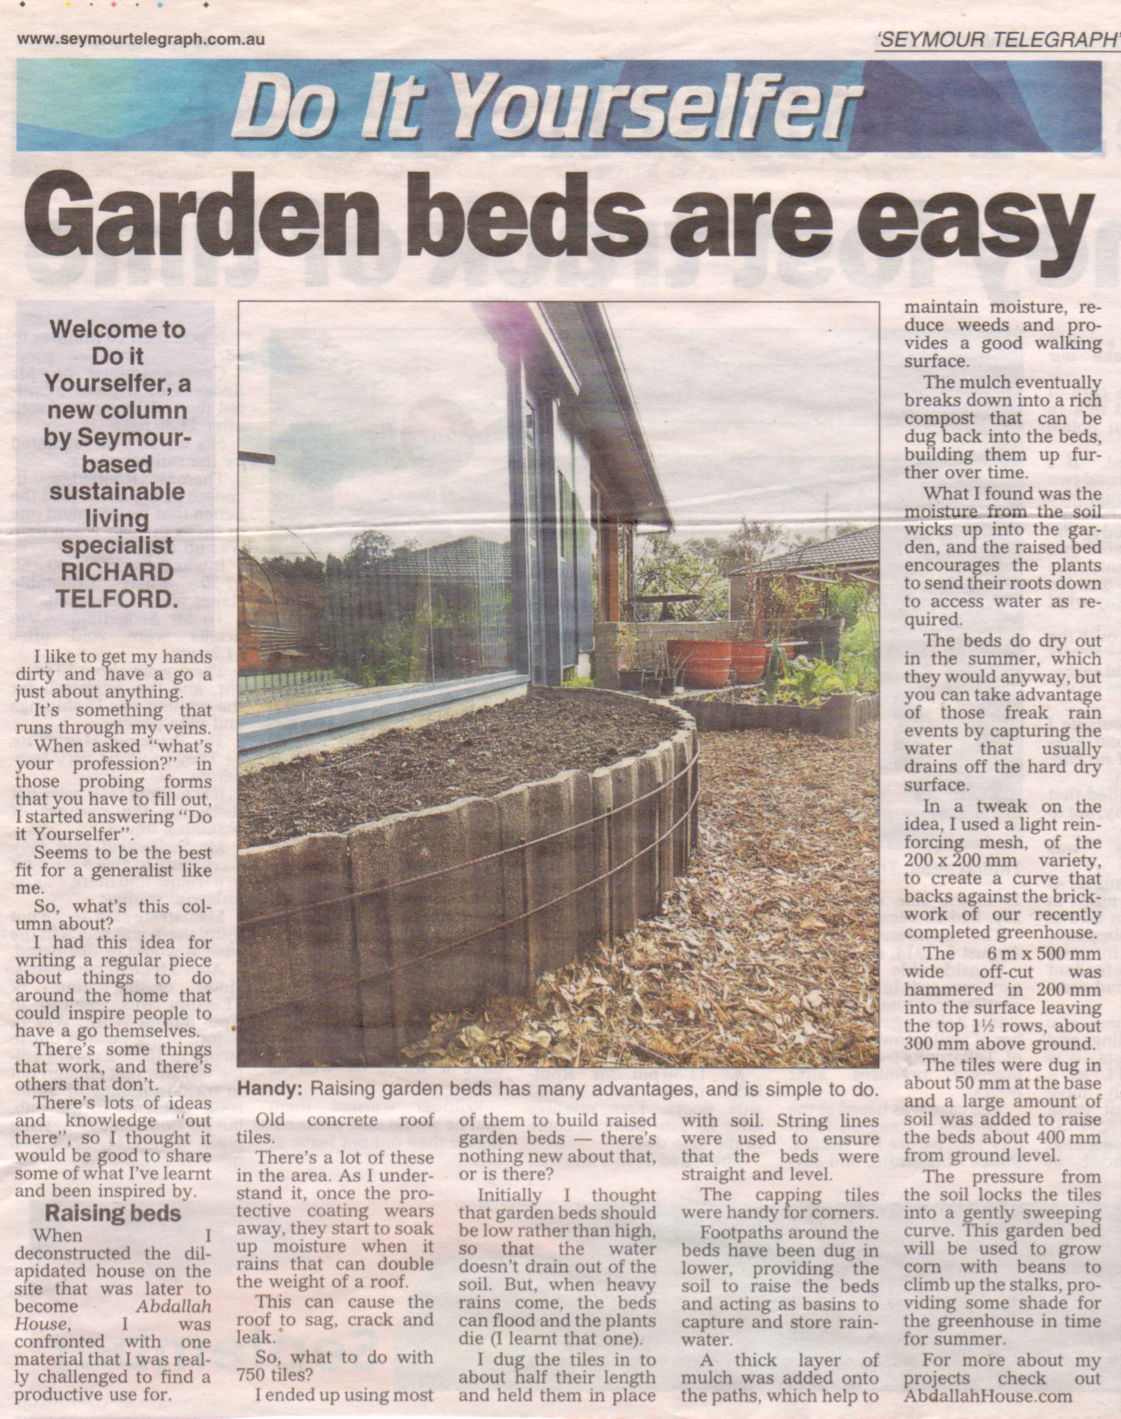
In a tweak on the idea, I used a light reinforcing mesh, of the 200 x 200mm variety, to create a curve that backs against the brickwork of our recently completed greenhouse. The 6 metre by 500mm wide off-cut was hammered in 200mm into the surface leaving the top one and a half rows, about 300mm above ground.
The tiles were dug in about 50mm at the base and a large amount of soil was added to raise the beds about 400mm from ground level. The pressure from the soil locks the tiles into a gently sweeping curve.
This garden bed will be used to grow corn with beans to climb up the stalks, providing some shade for the greenhouse in time for summer.
Find out more about Richard’s urban adventures at Abdallah House


I really like how you “used a light reinforcing mesh…to create a curve that backs against the brickwork of (your) recently completed green house.” I feel like that’s a really innovative way to bring the results you were looking for. My wife and I want to build some flower beds and I really like the idea of them being raised. Thanks for the great idea!