 Principle 6: Produce No Waste
Do it Yourselfer #17

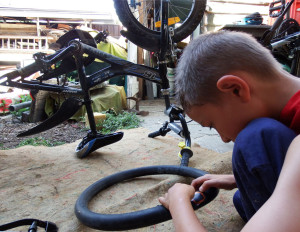
I tend to hang onto stuff for a while in the hope that I can find a use for it. Most of it is stuff that the majority of people would throw out without a second thought. When the stuff builds up to a point when I can’t find what I’m looking for, and I can’t see a use for it, then I look to do a tip run. Always careful to sort out what can be recycled and what can’t, there’s usually very little stuff that goes to waste from our place. I think I’ve only made two tip runs (in our Kombi van, no trailer) since we moved here over 5 years ago. On my first run the staff refused to charge me, and the next time I was charged the minimum amount, and used my annual tipping voucher to pay for it.
During 2011, our family set ourselves a mission to only fill one rubbish bin and one recycle bin for the year. We called our successful mission ‘binimum‘, and it’s been a real conversation starter for the rest of our wholistic approach to living lightly that’s informed by the permaculture principles. One of the projects was to make and oil tin drawer. It’s always gets comments when people check out the shed, so I thought I’d show how I make them.
How to transform an oil tin into a drawer

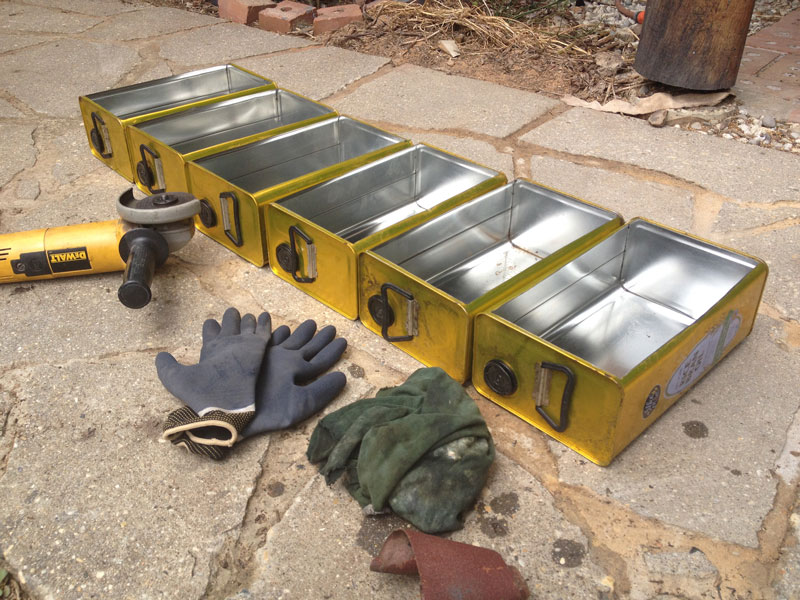
We tend to buy food in bulk, which gives us larger containers that are useful to re-purpose. These oil tins were collected over a couple of years. I find that it’s easier to do a job like this when you’ve collected quite a few – if they are the same size, all the better. On this job you’ll need a small angle grinder with a 1mm disc, ear muffs, protective glasses, a jar for left over oil, heavy duty sand paper and gloves are a must.
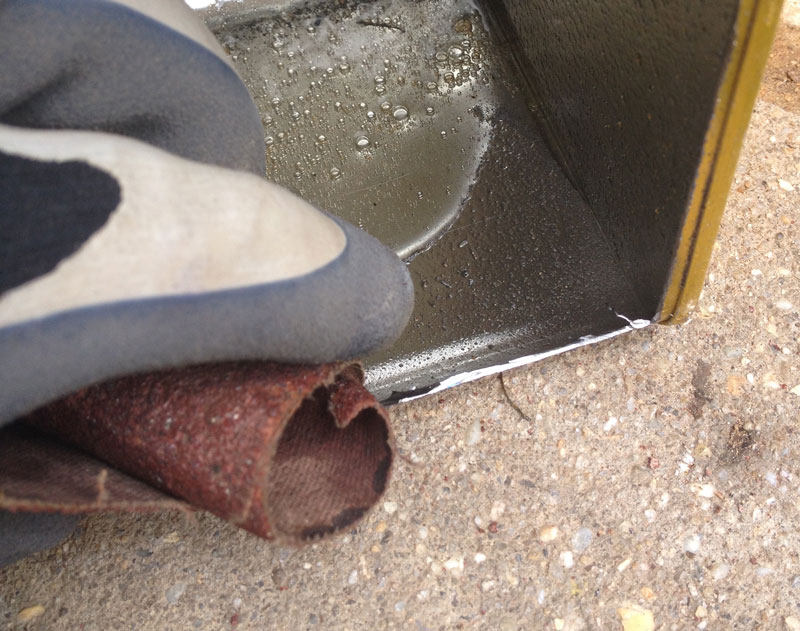
An angle grinder with a 1mm disc cuts through the tin like butter, leaving a fairly smooth edge that just needs a little sanding to clean it up. Cut the tin about 5mm (1/4 inch) away from the top and bottom and about 10mm (1/2 inch) from the sides, leaving the curve which gives the side strength. While the angle grinder creates a relatively smooth edge, as compared to tin snips, there is usually some metal slithers left behind that can be removed using heavy duty sand paper. Best to wear gloves for this. You can use a file if you like, but I find that old sandpaper from a belt sander is best.
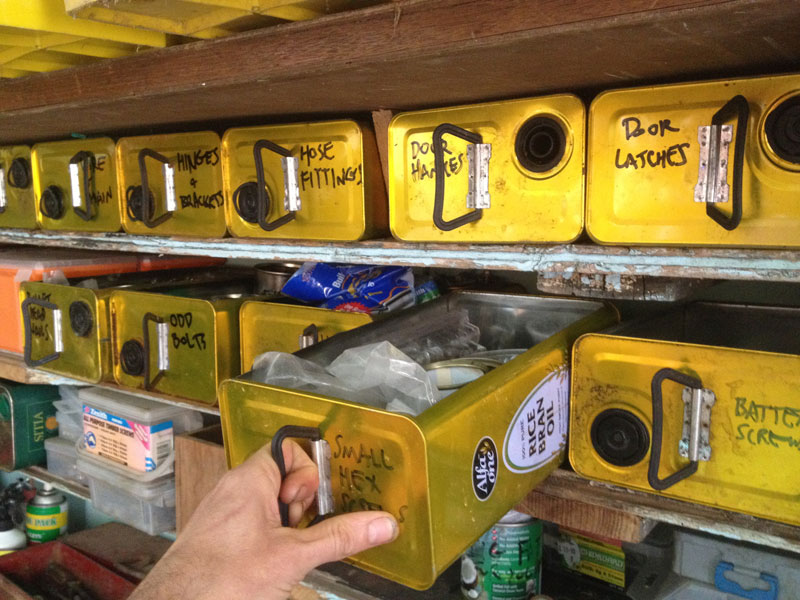
The small amount of oil left over in the tin can be poured into a jar once the tin is open and saved for preserving wooden tool handles, lubrication of tools / metal, or softening of leather. Use an old rag to wipe up the remaining oil, ensuring metal filings are removed and edges smooth. I use other smaller tin cans to create sections for different items. It’s a great way to get organised in the shed.
All the best – Richard Telford


 Organise more than your shed!
If you like knowing where things are and what’s going on (like I do) then the Permaculture Calendar might just fit the bill. I find the moon planting guide a great way to plan when I’m going to plant what – and make sure that I do it. The weekly deadlines prompt me to take action.
As previously, the calendar is made from 100% post consumer recycled pulp on certified carbon neutral paper that is manufactured and printed in Australia using 100% renewable energy. And net proceeds are tithed to Permafund, supporting permaculture projects internationally. Check it out.